Monday, November 24, 2014

Gingerbread Man Cookies


2 cups flour
1 tsp ginger
1 tsp nutmeg
1 tsp ginger
1 tsp cloves
1 tsp cinnamon
1 tsp baking powder
1 tsp baking soda
1/2 tsp salt
zest from a lemon
1 egg
1 stick softened butter
1/4 cup honey
1 cup brown sugar

1. Mix flour and all dry ingredients in one bowl
2. Mix softened butter and brown sugar
3. Add the egg and honey to the wet ingredients
4. Combine all ingredients and knead until it forms a soft dough
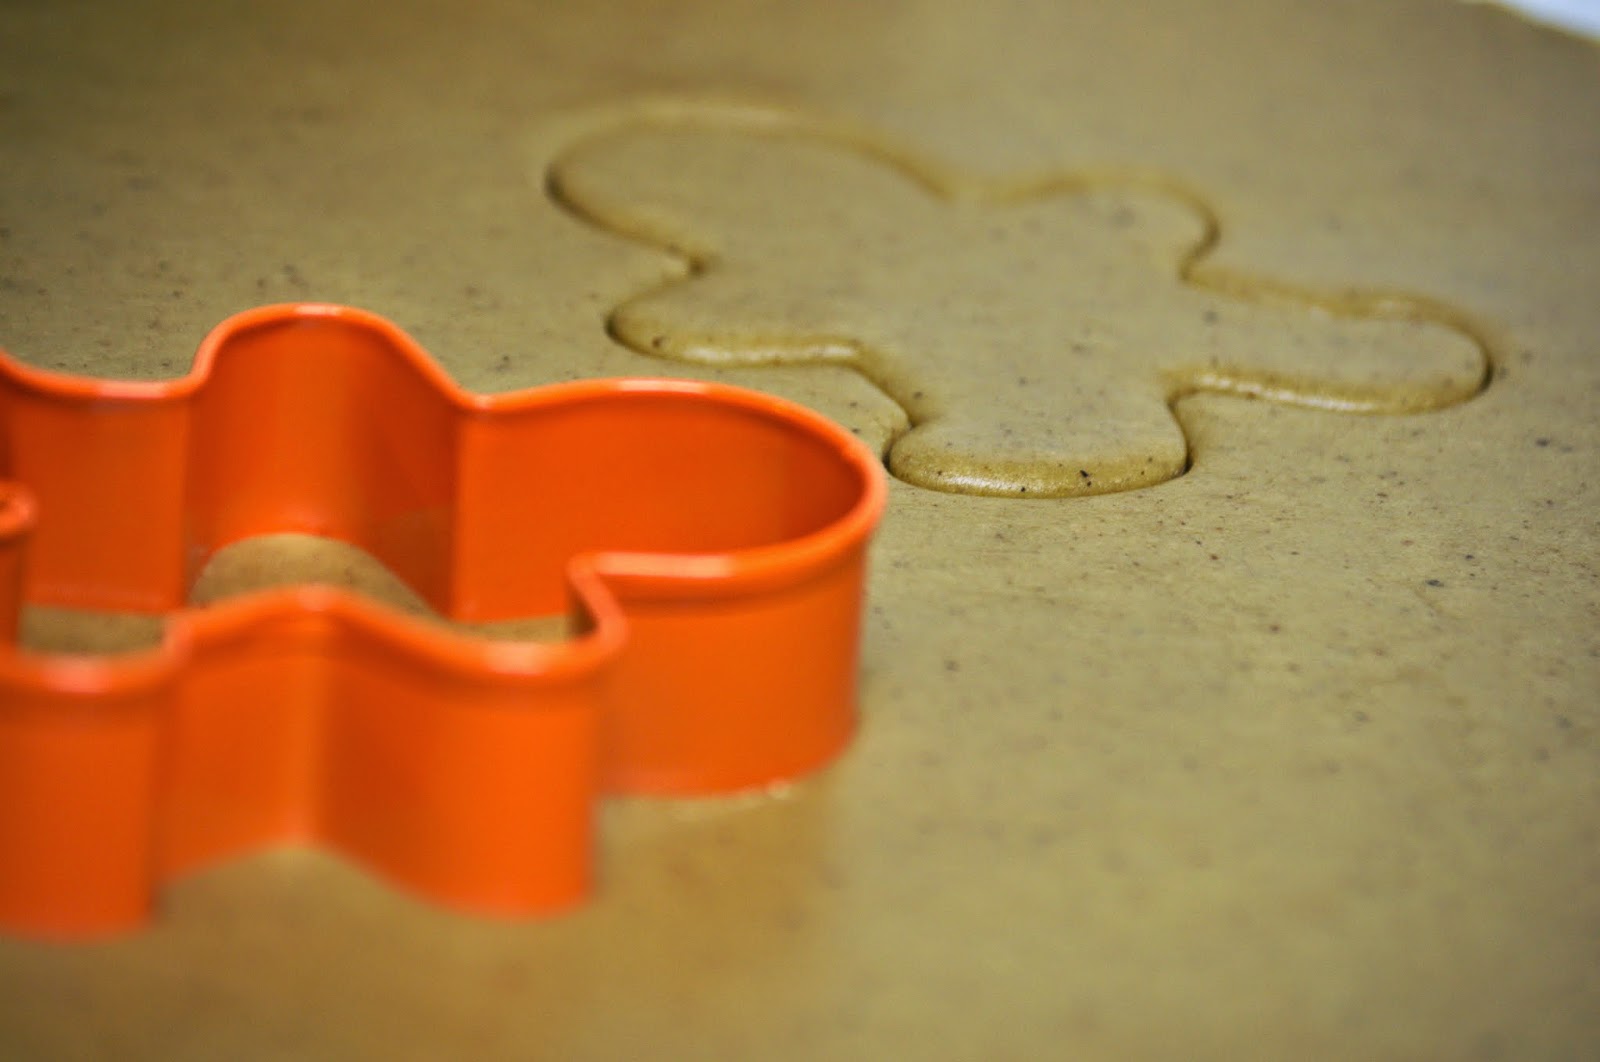
5. Let dough rest for 30 min. then roll and cut into desired shapes
6. Bake at 370 F for 9 minutes in a preheated oven

Wednesday, October 15, 2014

Potato Breakfast Casserole


I should start by saying that this is my husband's favorite dish!

It can be served warm or cold, which adds to its versatility.
Apart from being down right delicious, it is relatively inexpensive to make and it is gluten free!

Ingredients:
6-7 medium size red or yellow potatoes
1 cup shredded Monterrey or mozzarella cheese
1/2 cup milk
6 eggs
1/2 cup minced sausages or bacon
salt
pepper

1. Preheat oven to 350F
2. Mince the sausages or the bacon and fry lightly in a pan
3. Wash, peel, and grate the potatoes. Set aside into a big bowl.
4. Grate the cheese and add it to the bowl.
5. Beat the eggs and the milk together, add pepper and salt (just a pinch, since the bacon/sausages and     the cheese are already salty).
6. Pour the wet ingredients into the bowl over the potatoes and the cheese.
7. Add the sausage/bacon and stir vigorously until all ingredients are mixed.
8. Grease a 9 x 13 a casserole dish and add the mixture (it will be quite runny)
9. Bake for approx. one hour until golden brown.
  

Saturday, August 23, 2014

Homemade Fries


The best fries I have ever had are those homemade. They have the right amount of crunchiness, the right amount of salt, no aftertaste, and they are bottomless!

Making homemade fries does not require, in my opinion, any special equipment in the kitchen. I use a large stainless steel frying pan, a couple cups of oil (canola, vegetable or sunflower oil), and a hot stove.

1. First, I wash, peel, and cut the the potatoes into thin, half an inch strips. I recommend golden   potatoes because they are less starchy and the fries will be more crunchy in the end. For a considerable portion of fries I use one lbs of potatoes. I usually make 5 lbs of potatoes!

2. After cutting the potatoes into strips, I put them into a strainer and I give them a good wash under running water. I try to drain them really, really well afterwards.

3. To prevent the fries from sticking, the secret is to get the frying pan really hot before adding the oil. The stove should be set at medium-high temperature.

4. I use two cups of oil for a large frying pan. The oil has to fill about half of the frying pan.


5. When the oil is really hot, I carefully add the potatoes. I don't use a thermometer but I can usually tell when the oil is hot enough. I try not to crowd the potatoes into the pan too much.

6. I live the potatoes alone for about five minutes. I turn them slightly with a big spatula. They will need to be turned one more time after another 3 minutes or so. At this point, I usually keep an eye on them to make sure they cook evenly and don't burn.


7. One batch of fries should be done in about 10 minutes from start to finish.

8. I use a strainer spatula to gather all the fries from the pan. Once the delicious fries are dumped onto a large plate, I add some salt or top them with grated cheese. I use a large flat plate instead of a bowl so the fries don't sweat and lose crunchiness.

9. For the following batches, I add a little more oil to the pan.

Saturday, August 9, 2014

Make Your Own Lunch Meat


Making your own flavorful and healthy lunch meat is really, really easy! No no nitrates or preservers!
It is also a frugal way to pack your own lunch.

1. Pick an inexpensive pork shoulder meat.
2. Season with salt, pepper, garlic powder, and paprika. Rub all that mixture onto the meat.
3. Preheat the oven to 300 F.
4. Put the seasoned meat in a broil pan.
5. Add two cups of water to the pan.
6. Cover tightly with heavy duty aluminum foil and bake for three hours.
7. Let cool before using it for sandwiches.

It is really tender and delicious. It lasts for a week in the fridge. At our house, we cannot get enough of it!